If you’re using Bricks Builder and Automatic.css, please follow the setup steps below.
Option #1: Automatic Setup
We provide two settings files to establish the default settings for your Bricks project automatically. One is a Bricks Settings file and the other is a Bricks Theme file.
Warning: These files should be used to start a new project. Uploading them to an existing project will overwrite your settings and defaults.
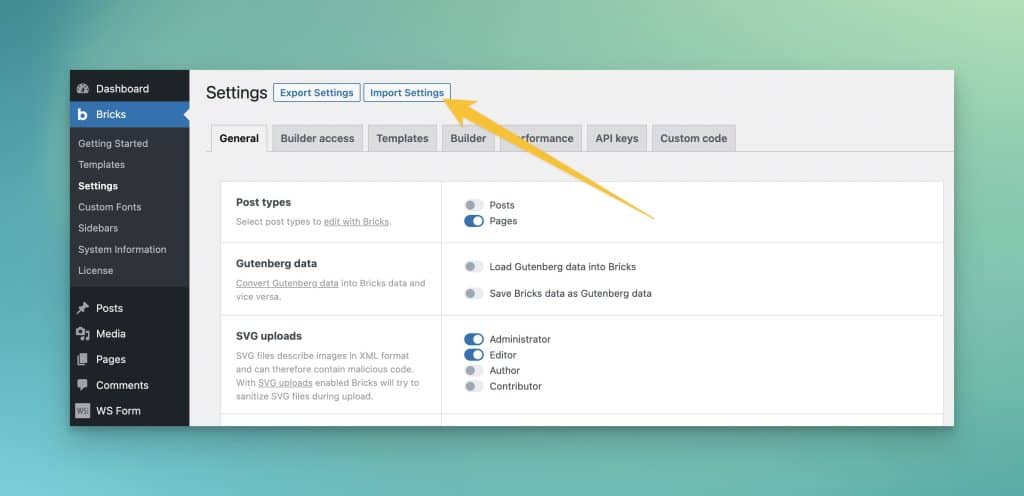
Step #1: Import Bricks Settings File
Download this Bricks Settings Blueprint file (.zip), unzip it to expose the .json file, and upload the .json file to your Bricks Settings Panel:
Step #2: Import Bricks Theme File
Bricks uses Global Theme Styles to control a lot of your website’s default styling. Most of this should be left undefined, but a few settings need to be set up.
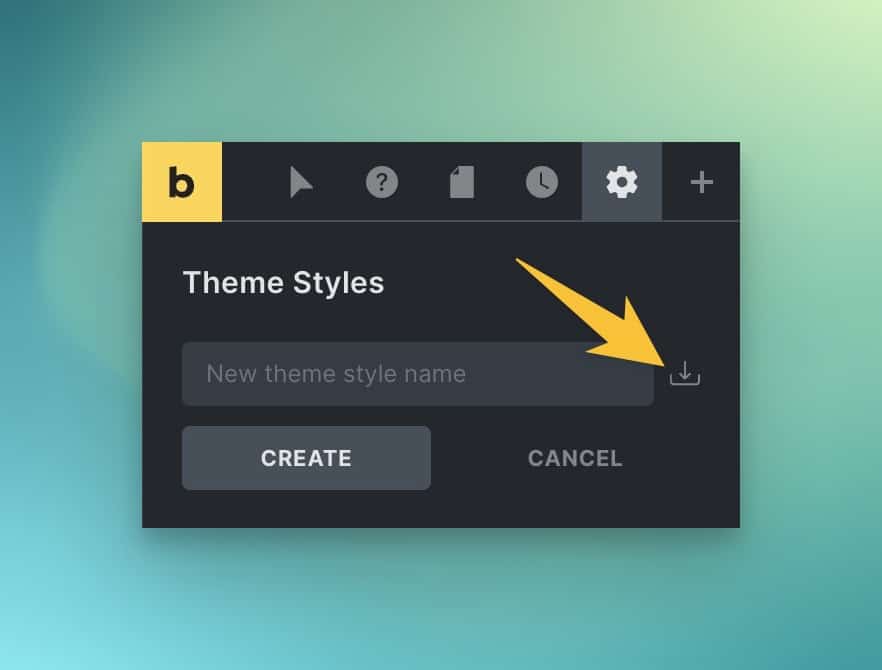
Download this Bricks Theme file (.zip), unzip it to expose the .json file, and then upload the .json file to the Bricks Global Theme Styles area.
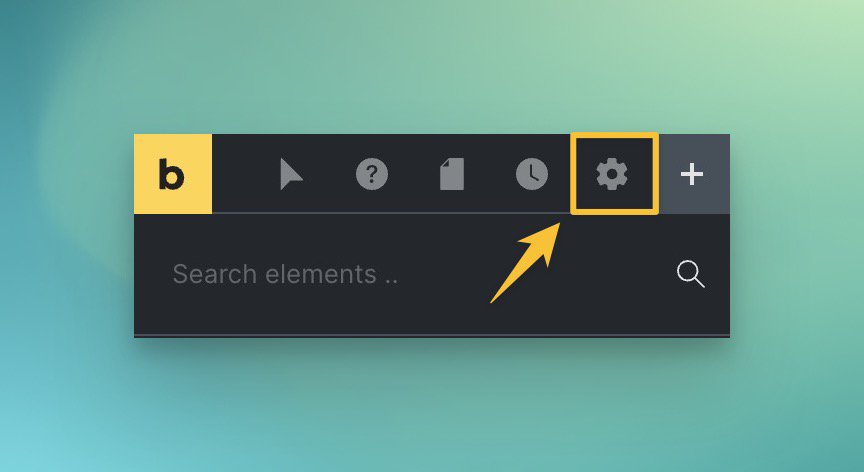
Open Bricks Builder by editing any page or template. Once in the editor, click the settings wheel toward the top left: Bricks Global Styles
Create New Theme Style in BricksUpload Bricks Theme Style JSON File
Once you’ve uploaded both files, you’re good to go. You can now proceed with customizing any empty settings based on your preferences (such as setting your font family in Typography > Body/Headings).
Option #2: Manual Setup
If you don’t want to use our settings files, you can configure the settings manually. Here are the steps:
Step #1: Configure Bricks Settings
Navigate to Bricks > Settings in the WordPress Admin:
Once you’ve configured the settings, it’s time to setup your Global Theme Styles.
Step #2: Global Theme Styles
Open Bricks Builder by editing any page. Once in the editor, click the settings wheel toward the top left:
Bricks Global Styles
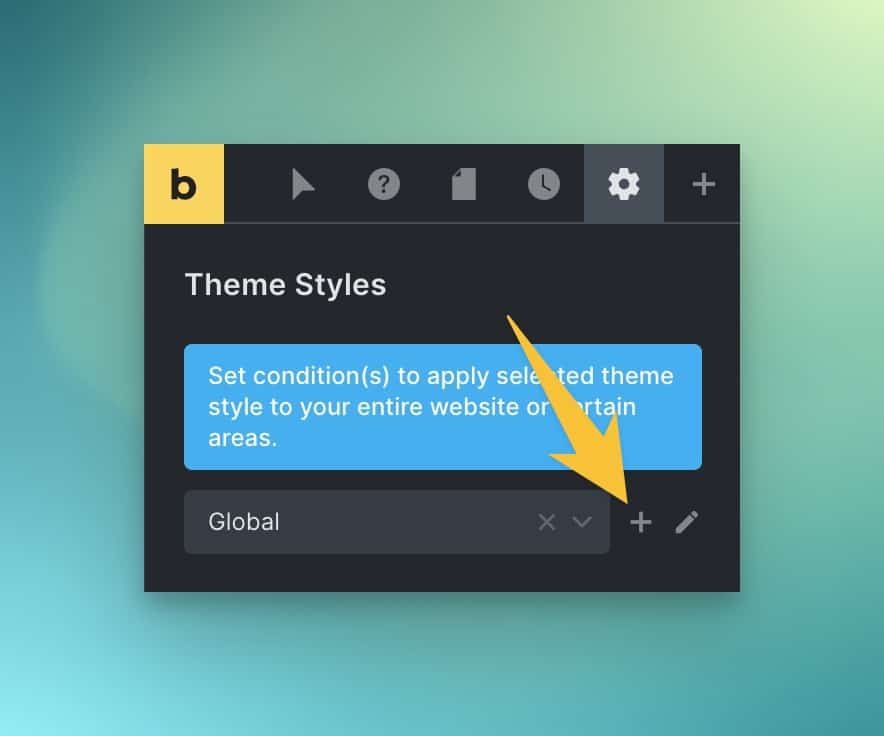
Next, click on Theme Styles. Once the panel opens, click the plus sign to add a new theme:
Create New Theme Style in Bricks
Give your Theme Style a name and click “Create.”
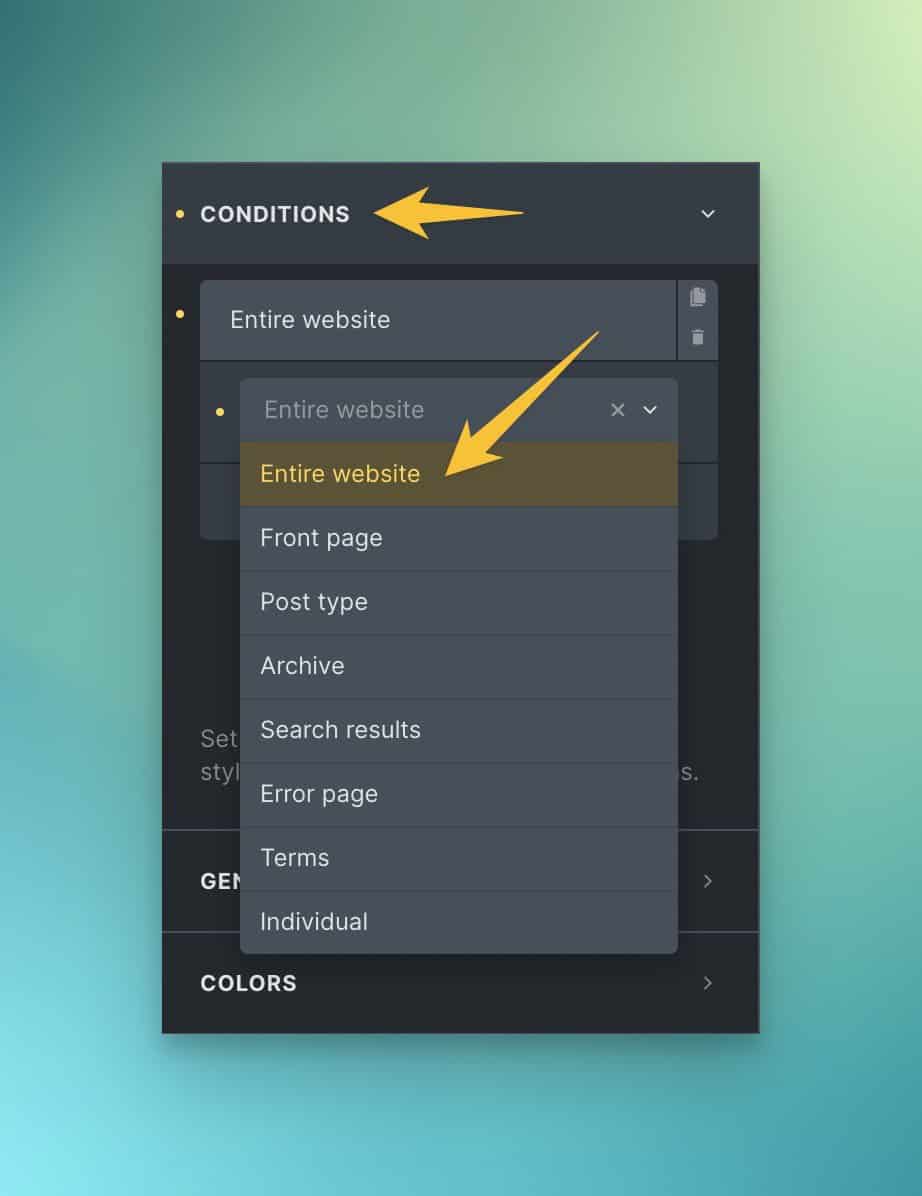
The first thing you need to do is assign your new theme style to your entire website. You can do that in the Conditions tab:
Bricks Theme Style Conditions
Warning: If you don’t assign your theme styles, you won’t see them at all and ACSS won’t work properly. Make sure you assign the styles to your entire website.
Warning: These settings should only be used to start a new project. Changing them on an existing project will overwrite your current settings, all your headings that aren’t individually set will become h2. Importing templates that don’t have explicit settings will also use your defaults.
Here are the rest of the settings (panels & settings that aren’t mentioned require no changes):
Typography: Set your Font Family for both body and headings.
Typography (Required): Set HTML Font Size to var(--root-font-size)
Element – Container (Required): Set width to var(--content-width)
Element – Code (Recommended): Set theme to Tomorrow Night
Element – Heading (Recommended to ease workflow): Set default Tag to H2
Element – Image: Set caption to no caption
Using these settings means headings will be h2. When the defaults are not what you need, change the individual element after adding it.
Caution: Setting other global styles in Bricks can cause conflicts with ACSS. Make sure you know exactly what you’re doing if you want to set any other global style defaults in Bricks.
That’s it! Bricks is now setup and ready to work properly with ACSS!