Automatic.css is fully compatible with WordPress’ Gutenberg editor. Follow the instructions below.
Activating Gutenberg Support
By default, Gutenberg support is turned off. Open the ACSS dashboard and navigate to Options > Gutenberg.
There, you’ll find the options ACSS makes available to you to make the Block Editor behave in a more predictable way:
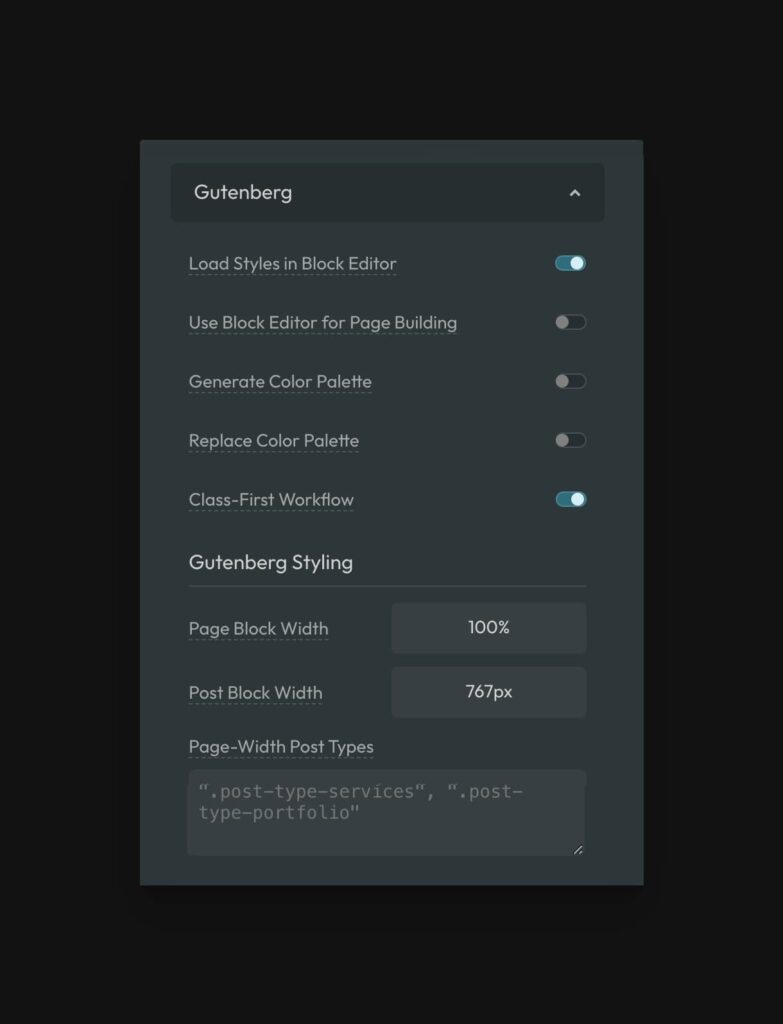
- Load Styles in Block Editor — ACSS will render styles associated with utility classes and variables inside the block editor.
- Use Block Editor for Page Building — ACSS will make the block editor be 100% width (like a blank page canvas) so you can build a page with blocks properly, without worrying about the inside-out approach to styles in Gutenberg.
- Generate Color Palette — ACSS colors, shades, and transparencies will be available in the Gutenberg editor color palette along with any other colors generated elsewhere.
- Replace Color Palette — ACSS color system will fully replace all existing site color options.
- Class-First Workflow — ACSS will move the Gutenberg classes input to the top of the block editing window for faster, easier access.
Pages, Posts, and Custom Post Types
By default, ACSS is available in both posts and pages, but with a critical visual difference.
Since pages are prone to being used for literal page building, the page editor will render full-width. And since blog posts are prone to being used for actual blog posts, the post editor will render the standard center-column narrow layout that you usually see in the Gutenberg post editor.
Additionally, support for custom post types is not available by default.
Adding Support for Custom Post Types
To add support for custom post types, add the below snippet to your functions.php file and add the ID of all CPTs you want to add support for, separated by a comma.
add_filter(
    'acss/gutenberg/allowed_post_types',
    function( $post_types ) {
        return array_merge( $post_types, array( 'post-type-slug', 'another-slug' ) ); // Add your post types in the array().
    }
);
Code language: PHP (php)
“Page” Block Width & “Post” Block Width
Gutenberg controls the width of elements in the block editor by setting a max-width on every element and then inline-centering every element. The width of elements is a fixed value.
To provide users with more flexibility, ACSS overrides this default static value with a value you can edit in the ACSS dashboard:
In fact, we give you a value for each of two contexts: pages and posts.
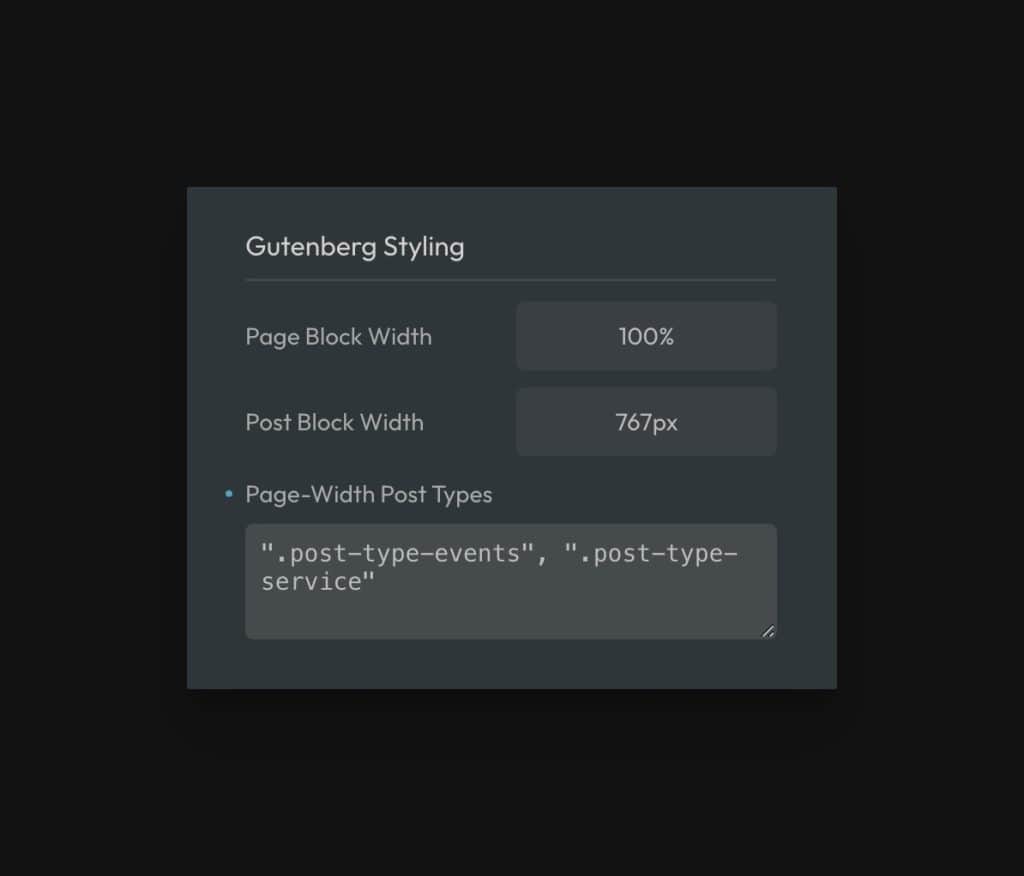
Page Block Width sets the width of blocks when editing pages and Post Block Width sets the width of blocks when editing posts and custom post types.
Of course, there are often times where you want a custom post type to behave like a page. In these cases, you can tell ACSS to make blocks for those post types equal to page width blocks. This is what the “Page-Width Post Types” input is for.
Just append the slug of your post type, e.g. “events” to the class .post-type and wrap it in quotes. Comma separate each post type class and then hit save.
Example:
".post-type-events", ".post-type-services"
Code language: JavaScript (javascript)
Of course, you have to make sure you have activated ACSS for those post types using the code snippet from the previous section.
That’s all there is to it. You’re now ready to use ACSS in Gutenberg.